| Author |  Topic Topic  |
melle
V4 Guru
    
United Kingdom
3833 Posts |  Posted - 10 Apr 2018 : 13:31:43 Posted - 10 Apr 2018 : 13:31:43  
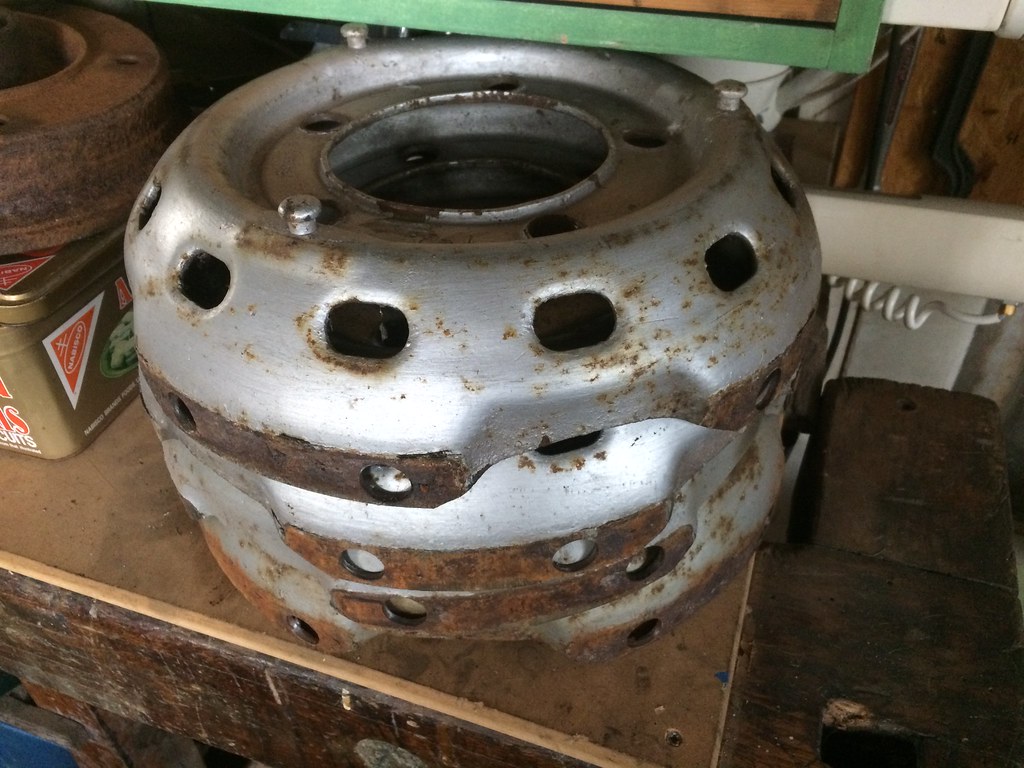
| Not much to report, only took the car for a spin a couple of times around Easter, which was a joy as always. I now also have four wheels ready to be welded up. Liberated three more V4 wheel centres by drilling out the spot welds as described earlier (19mm hole does the job):
I've also found a good method to split 900 wheels in less that 10 minutes each. Remove the centre by cutting the sections between the holes, then slice the welds (be careful not to cut too deep):
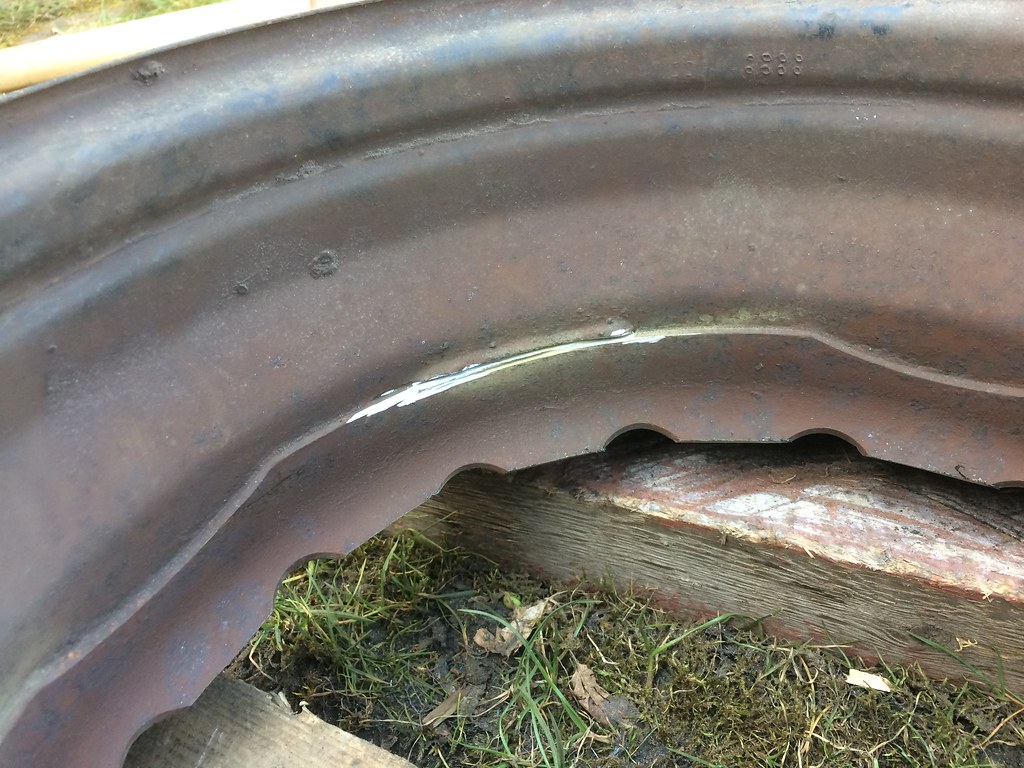
Remove a small section from what's left to release the tension of the pressed in centre, then remove the rest in quarter sections with a mallet and you're left with a clean barrel with only four welds to dress down and a pile of scrap metal:
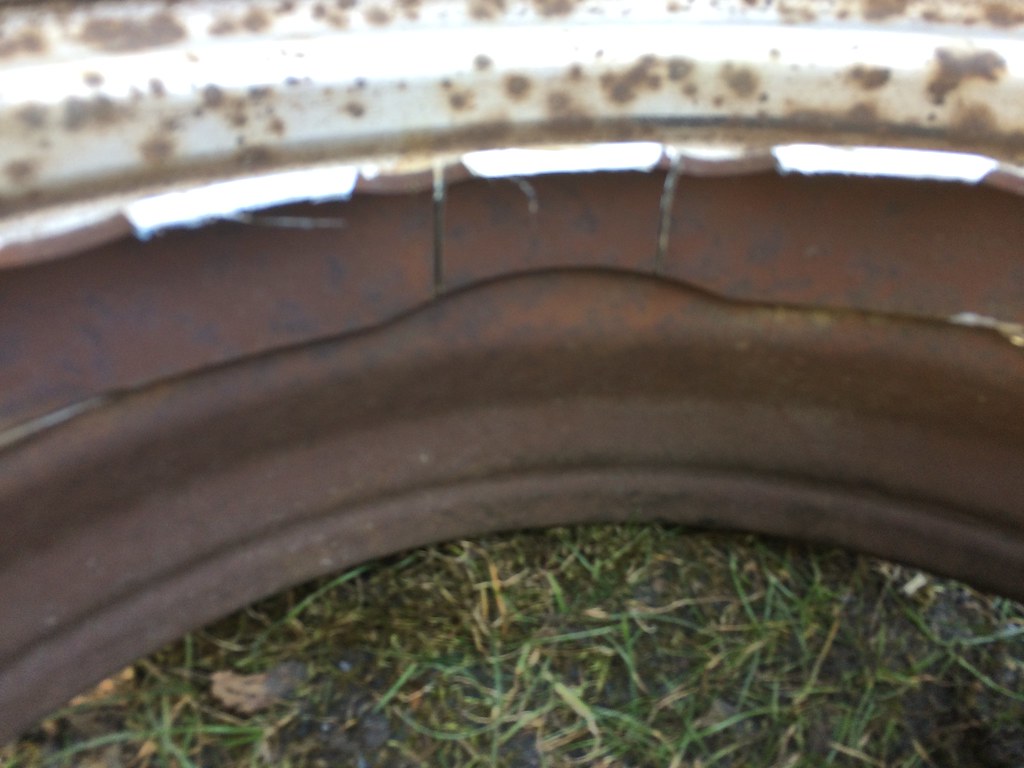
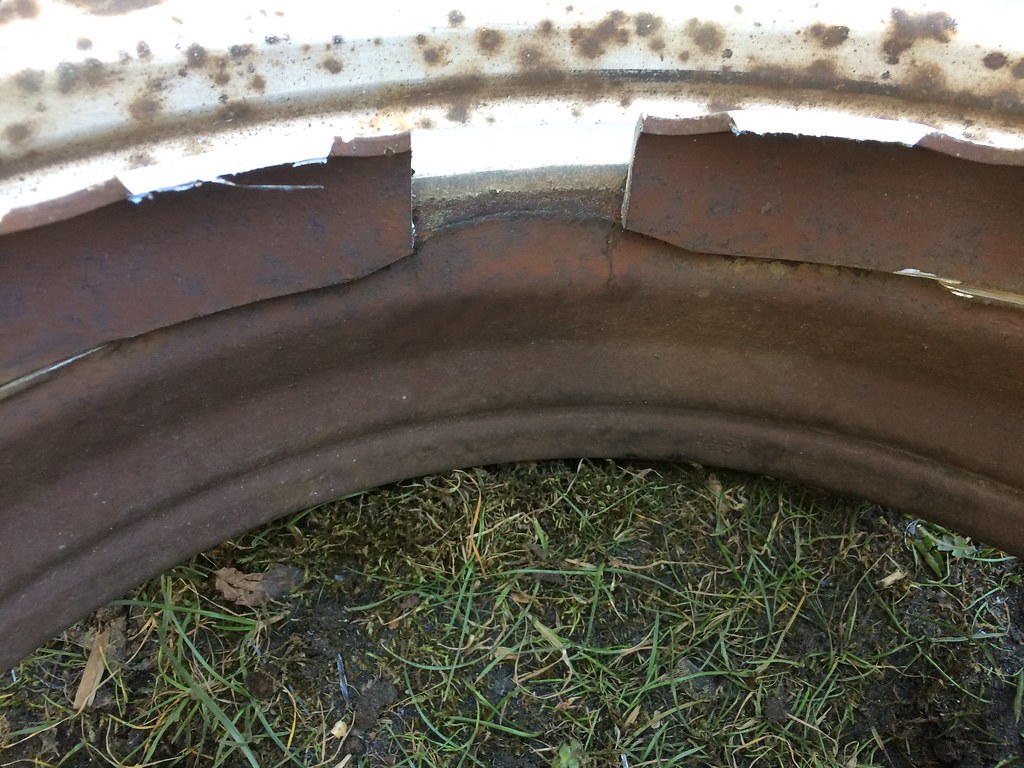
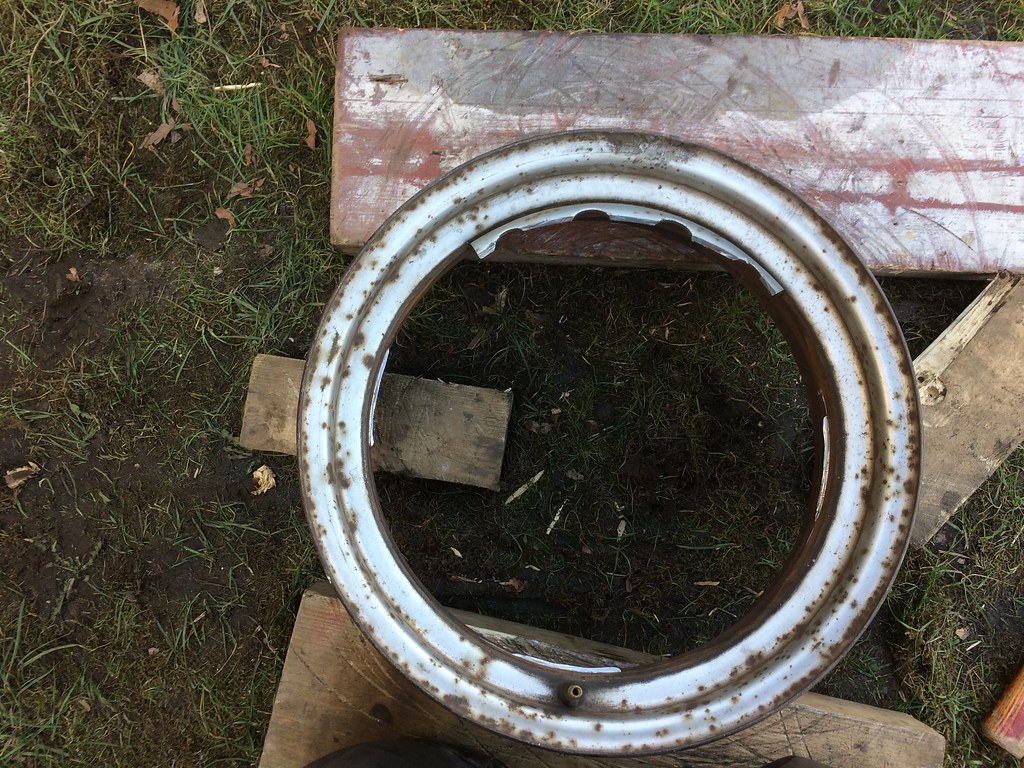
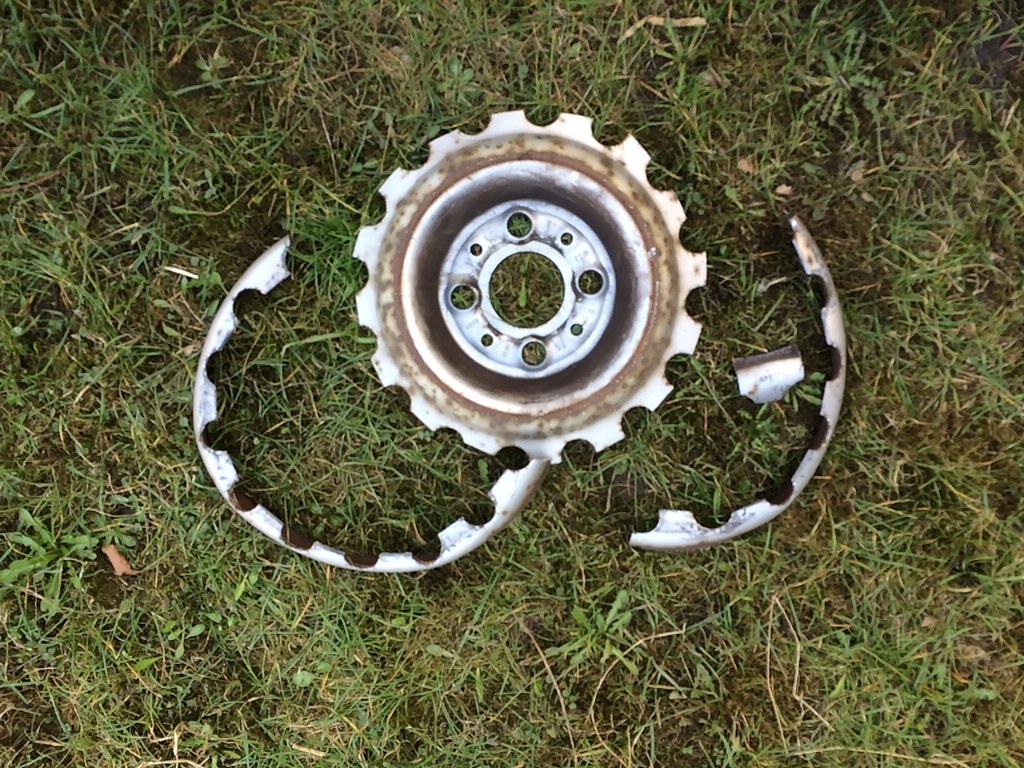
I messed one barrel up earlier that I would ideally like to replace, so if anyone has one or two 5.5J rear handbrake C900 wheels (made by Lemmerz, Saab part number 89 60 254) they're willing to part with, give me a shout!
Before I weld the centres to the rims, I will sandblast the mating surfaces. I think I'll have the complete wheels sandblasted by someone else when done, too much work in my small blasting cabinet.
www.saabv4.com |  |
|
melle
V4 Guru
    
United Kingdom
3833 Posts |  Posted - 06 Sep 2018 : 19:22:05 Posted - 06 Sep 2018 : 19:22:05  
| Spent a few weeks in NL and this was the first thing I addressed on the 96:
quote:
Originally posted by melle
Burst hose and presumably leaking head gasket
[...] As mentioned in an earlier post, this engine was not meant to go in a car, I was planning to use it on my test bench to build and test a K-Jetronic conversion. When I rebuilt the engine I had noticed the heads were quite badly pitted. After measuring them and finding they were dead on straight, I decided to chance it without having them skimmed. Being a cheap skate in this case proves to be false economy in hindsight. Cylinder number two had 9.25 bar compression before we went to Belgium and about 9 after the burst hose, so I suspect there's a small hg leak there. Probably nothing to do with the leaky hose but gradually getting worse anyway. The engine is also using some oil and the coolant is quite dirty. Will take the heads off at some point and have them skimmed for peace of mind; it's not too much work and not very expensive either. When cold or mildly warm the engine runs beautifully.
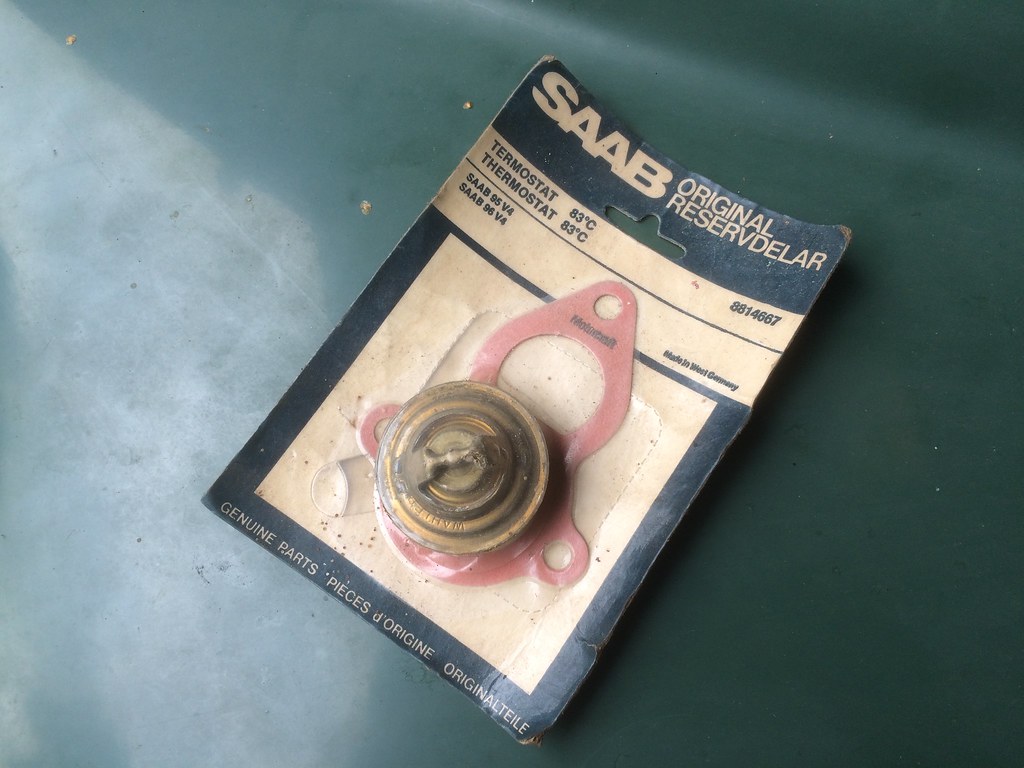
Well, I jumped to conclusions there... I measured the compression again and the values on all four cylinders had come up quite a bit. A few days later I got erratic readings on a friend's engine; it may be time for a new compression tester. Oil level was OK. Replaced the thermostat and that solved the issue. Annoyingly, the one I took out was a fairly new (2000km) Wahler thermostat. I had the exact same issue with the previous engine, why can't they make proper thermostats any more these days? I've replaced it with a new old stock "OEM" Wahler this time, hope that does the job for a while:
I replaced the horrible hose clamps on the crankcase ventilation oil catch system (sorry, no pics), diagnosed a bad offside front wheel bearing and rebuilt a hub assembly to be installed next time, overhauled two starters and enjoyed the hell out of driving the car. Best was a long "spirited" countryside drive on a very bright and quite cold night. The smell of freshly cut grass and the woods and the sound of a happy V4 coming in through the open windows and the heater full on to keep warm, what more do you want! Oh, and 72sonnett3 visited and diagnosed why the horn had stopped working: the wire had unplugged itself...
Next I'll replace the starter (current one is a bit sluggish) and install the new front wheel hub assembly. I also want to investigate why the car is so difficult to start when cold. It's nothing to do with the starter, because it cuts out when it runs (only just, I have to add). I know DCDs have a reputation for being difficult cold starters, but it's really quite annoying as it is. The engine runs and idles nicely when warmed up and warm starts are not an issue at all. It also starts easily if it's been run before on the same day, even if it's stood for a few hours and cooled down completely. Using the choke makes cold starting even worse.
www.saabv4.com |  |
|
72sonett3
V4 Fanatic
  
Spain
269 Posts |  Posted - 06 Sep 2018 : 22:20:53 Posted - 06 Sep 2018 : 22:20:53  
| quote:
... 72sonett3 visited and diagnosed why the horn had stopped working: the wire had unplugged itself...
That turned out to be easy. I had this 'no ground' problem too and that was caused by a broken brass strap inside the rag joint at the bottom of the steering rod.
In Melle's car it was just a wire that somehow got disconnected at the horn...
--
'72 97
'77 96L conv.
'79 96GL (LPG)
'83 900i (LPG)
'95 900SE conv.
'99 9-3T |  |
|
melle
V4 Guru
    
United Kingdom
3833 Posts |  Posted - 17 Jan 2019 : 18:44:58 Posted - 17 Jan 2019 : 18:44:58  
| Belated 2018 Christmas update. "Christmas" doesn't mean much to me, apart from catching up with friends and family in NL and having some much-desired workshop time. I always have plenty projects going (not only cars) and I was only going to do some small jobs on the 96 this time. And then it got out of hand, again.
I started by replacing the plug leads with QH V6 items. I can highly recommend these; they're cheap enough, decent quality and a set gets you some spares as well: https://www.ebay.co.uk/itm/222086703054

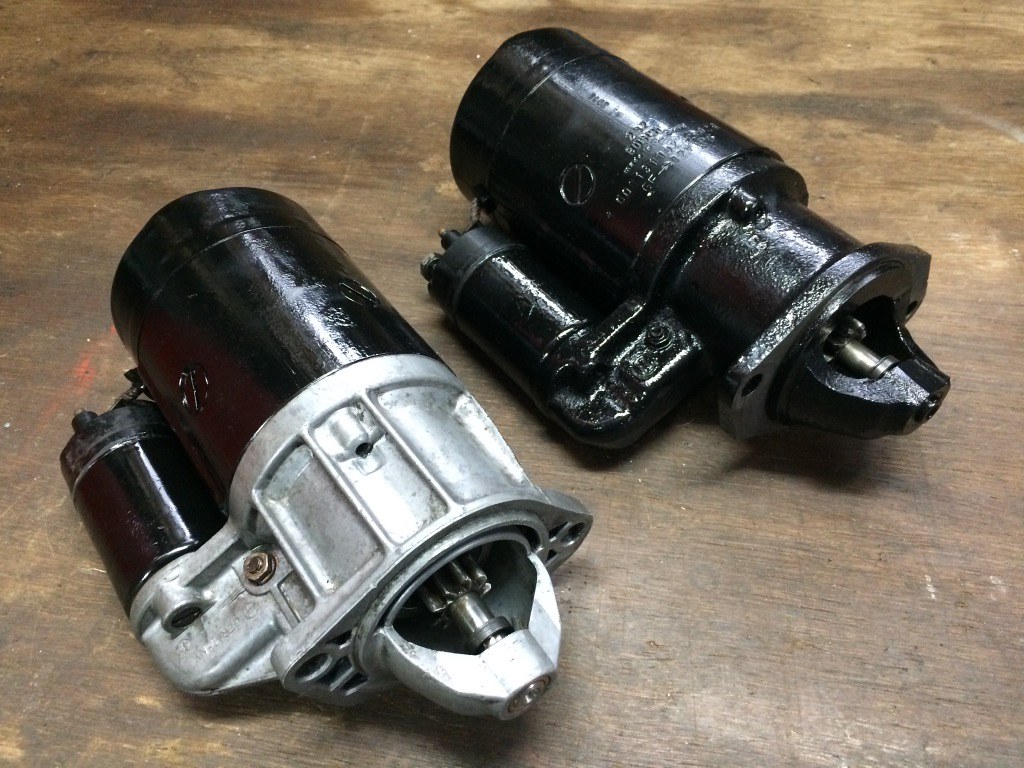
Then I replaced the starter with one I reconditioned earlier:
I removed the mechanical fuel pump because I wanted to install an electric one as the membrane was past its best. After consulting 72Sonett3 for advice, I bought a Facet 40105 pump.
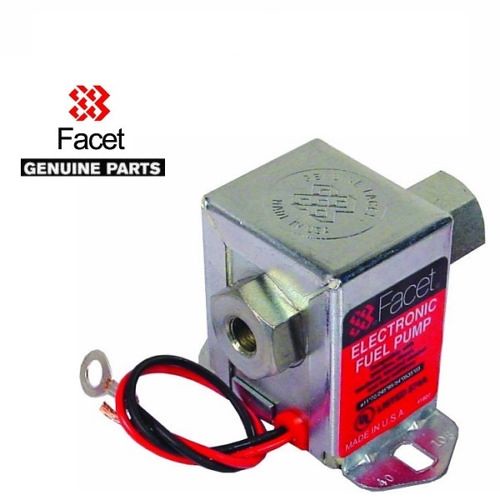
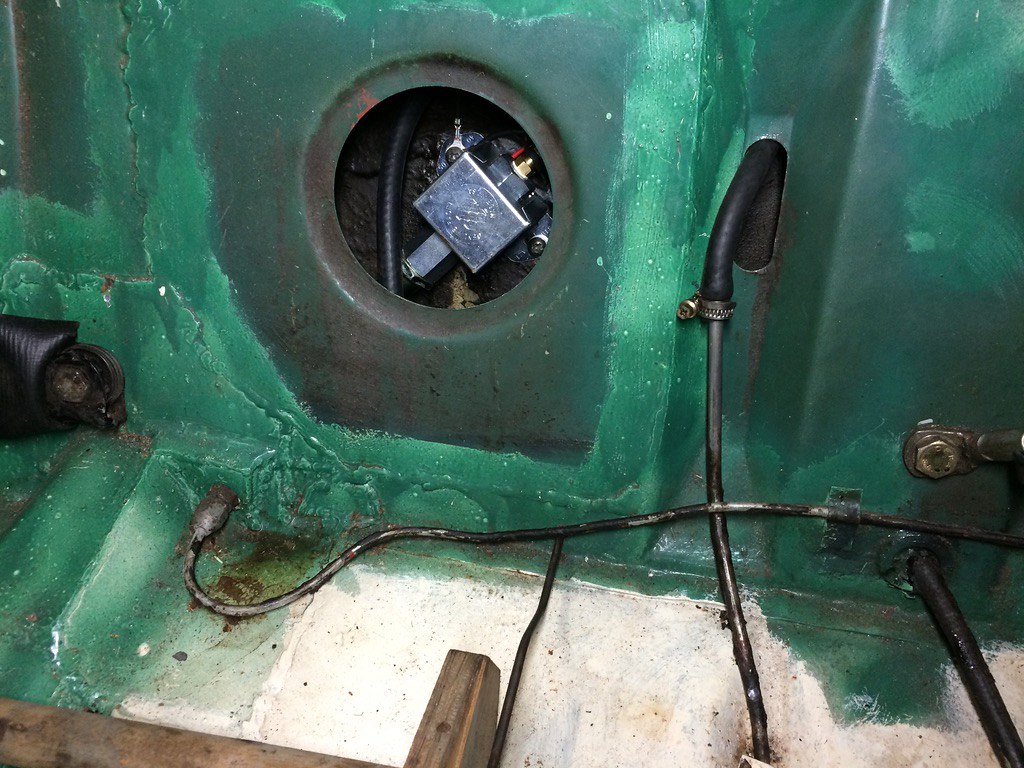
I was hoping an electric pump would improve cold starting (it does, also helped by a bigger starting petrol jet in the carb) and removing the mechanical pump would create some more room for the oil pressure sender I plan to fit. The electric fuel pump lives under/ behind the rear seat; I first mounted it directly to the body with self-tapping screws, which resulted in a horrible ticking noise. I later added some small rubber door stoppers and rubber washers to isolate the pump from the body; it's now hardly audible at idle and you don't hear it at all when driving.
For some extra safety, I installed a toggle switch under the dash and a used inertia switch from a Jaguar S-Type under the bonnet.

Next, I was going to replace the off-side front wheel hub/ CV joint assembly, because a bearing was starting to fail. I cleaned out a used unit, repacked it with fresh grease and installed new seals (see here for a discussion on the seals I used: http://www.saab-v4.co.uk/speedball/topic.asp?topic_id=38605). After a few failed attempts with cable ties, I made a proper tool to install the old driveshaft in the new outer CV joint; loosely based on Saab special tool 78 41 612, but without the fancy splined section. It worked a treat. (I'll add some more pics to the home made tools thread: http://www.saab-v4.co.uk/speedball/topic.asp?topic_id=33177):

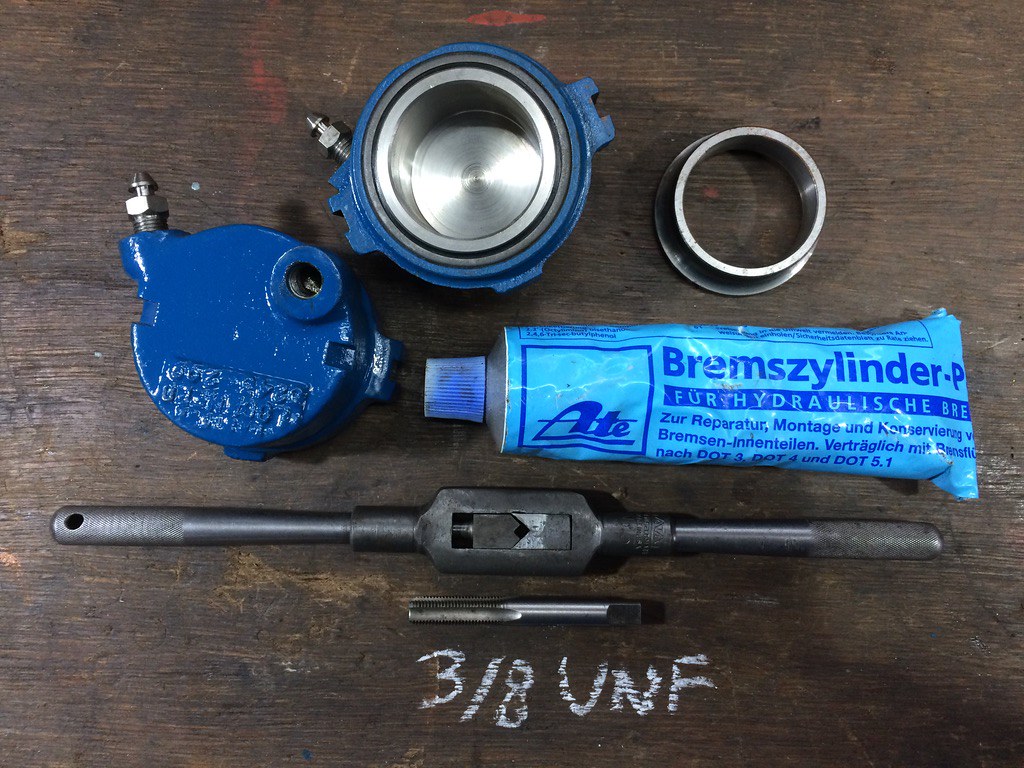
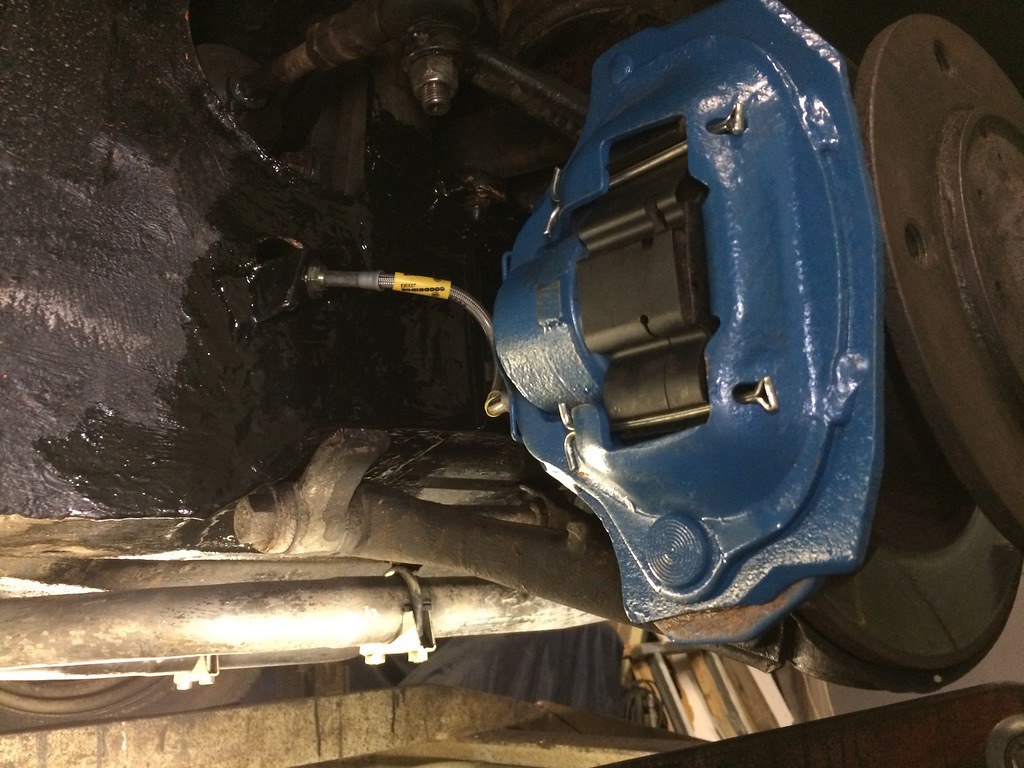
When removing the driveshaft, I noticed a small split in the brake hose. Good time to install the Goodridge braided brake hose kit I bought in 2014 and the calipers I refurbished with stainless pistons (discussion on those here: http://www.saab-v4.co.uk/speedball/topic.asp?topic_id=3672&whichpage=2) and a set of seals from John-Saab (https://www.ebay.co.uk/itm/261892406355) in the same year. The brake hose and bleed screws both have 3/8" UNF thread (rear bleed screws are 1/4" UNF), I used a tap and a small wire brush in a drill to clean the rusty threads out. I used the inner race of a C900 front wheel bearing to seat the metal seal retainer.
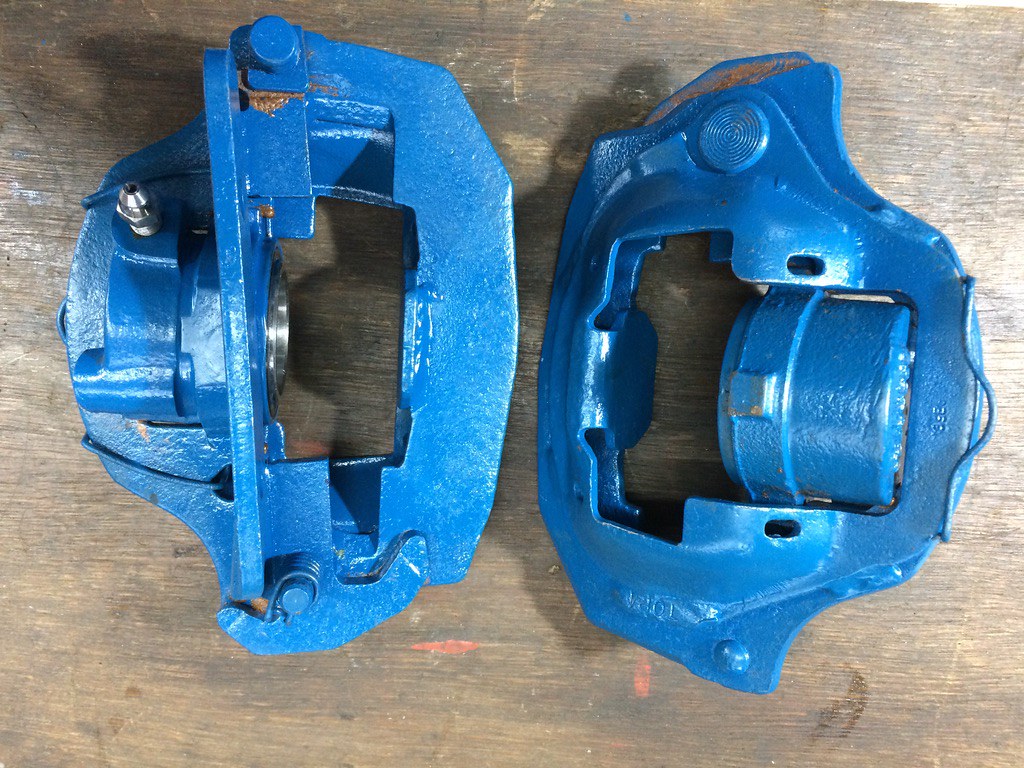
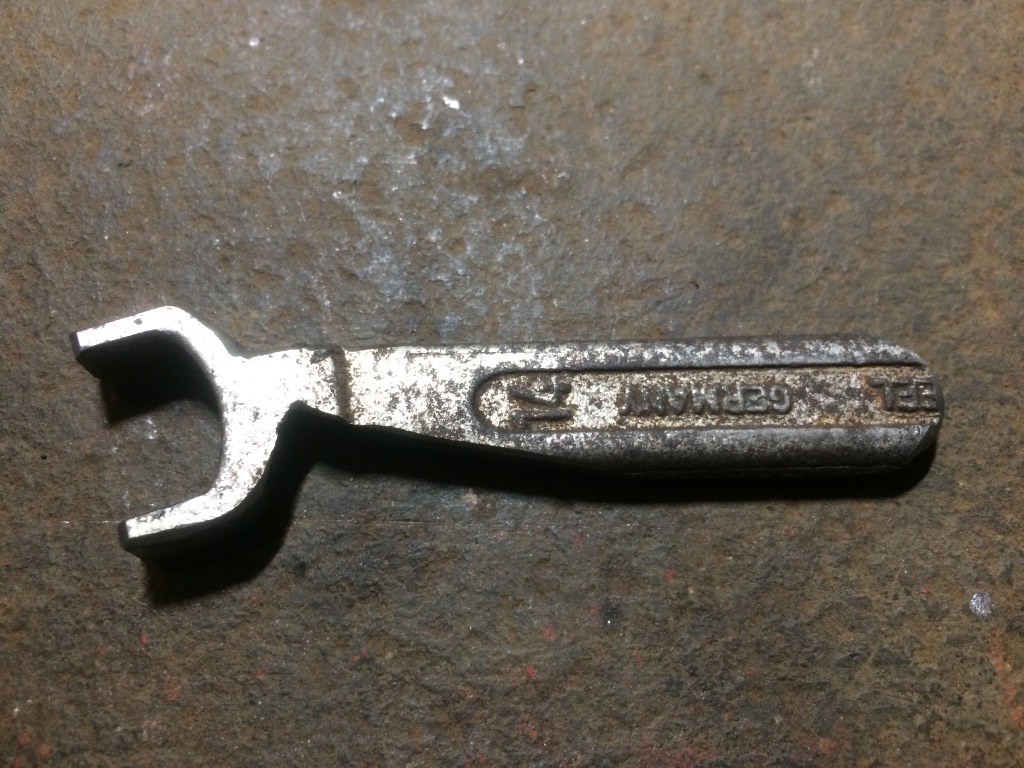
I knocked up a tool from an old 14mm spanner (I didn't have an old 9/16"AF spanner at hand) to help tighten the brake hose nuts, as none of my brake line spanners would fit. On the 95 I'll make sure brake hoses can be changed without special tools, what a horrible design job Saab did there (not helped by the horrible welding that has been done to the brake hose/ pipe coupling bracket in the past).
Also made a fresh batch of caliper bolt locking tabs from a galvanised back panel off a scrapped gas stove:

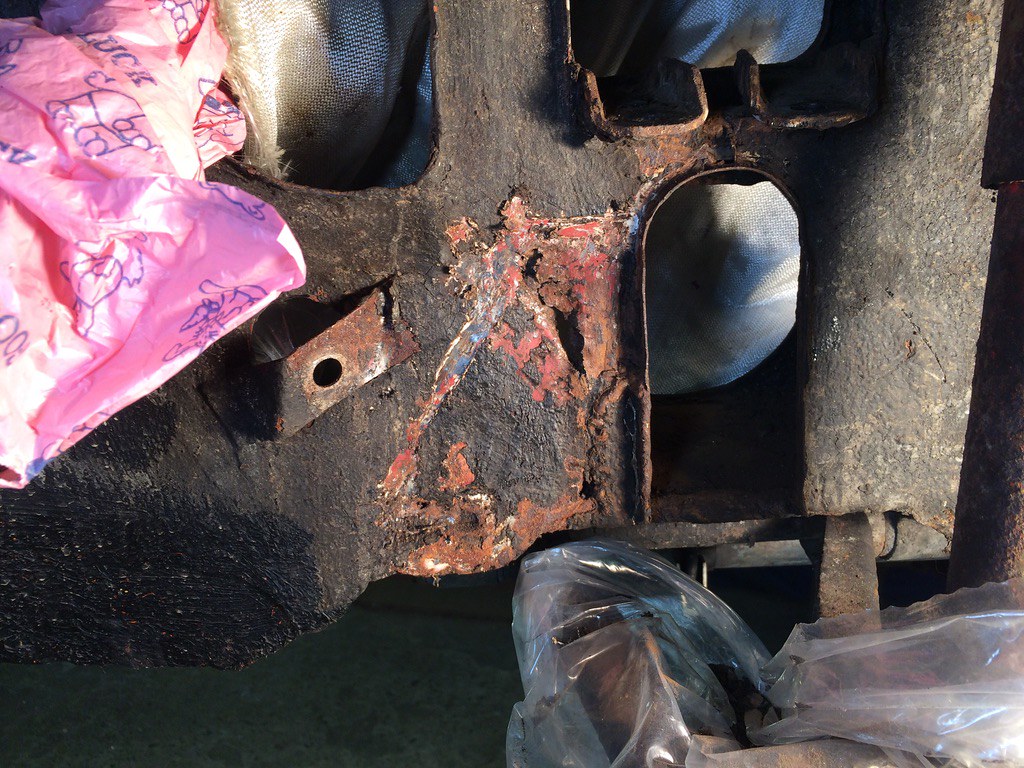
While removing the wheel hub/ CV joint assy, I noticed some rust... No what I was hoping for, but wishing it would fix itself didn't help (by the way, to my knowledge, wishing, just as hoping and praying, has never solved anything). So, I chopped it out and let some fresh metal in. Clearly someone had been there before and it was a right mess. I didn't have much time and I decided to leave everything that was structurally sound well alone. However, I should have taken out a bit more towards the top of the bit I removed, but because of the thick layer of old Tectyl, I noticed too late that that wasn't very sound either. I was now running out of time, so I quickly filled it with weld. Not very pretty and not how I normally like to do it. Also, in hindsight I'm sure this bodge was false economy, because properly patching it wouldn't have been much more work and I'm afraid I'll now have to address this area again in the future.
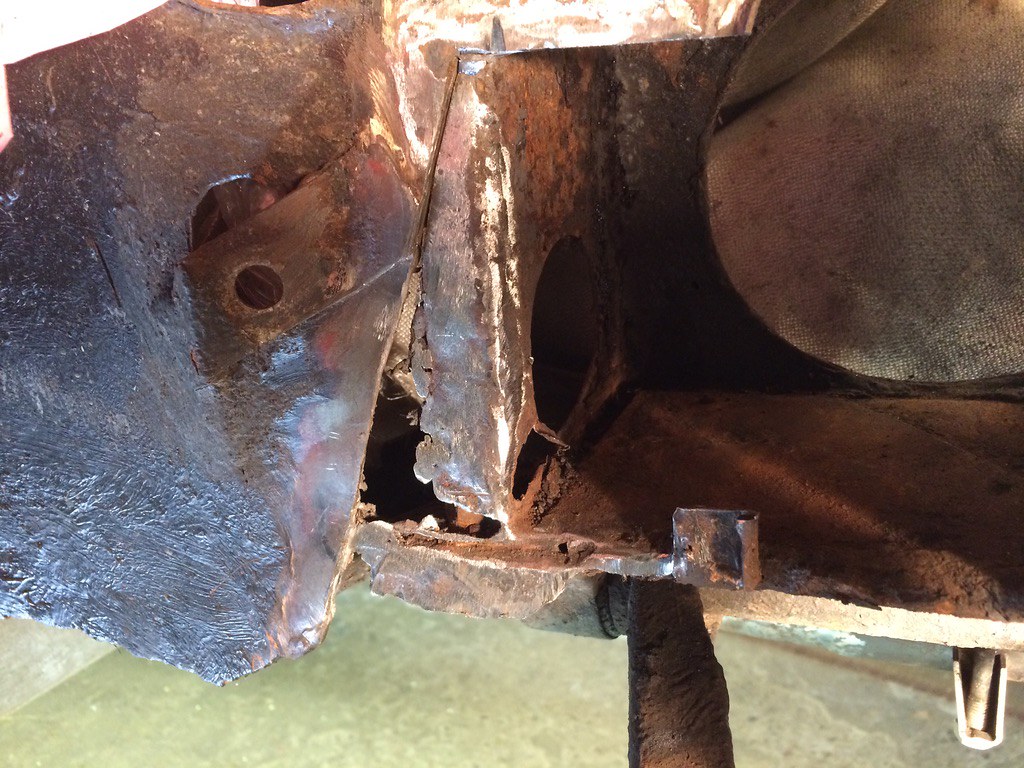
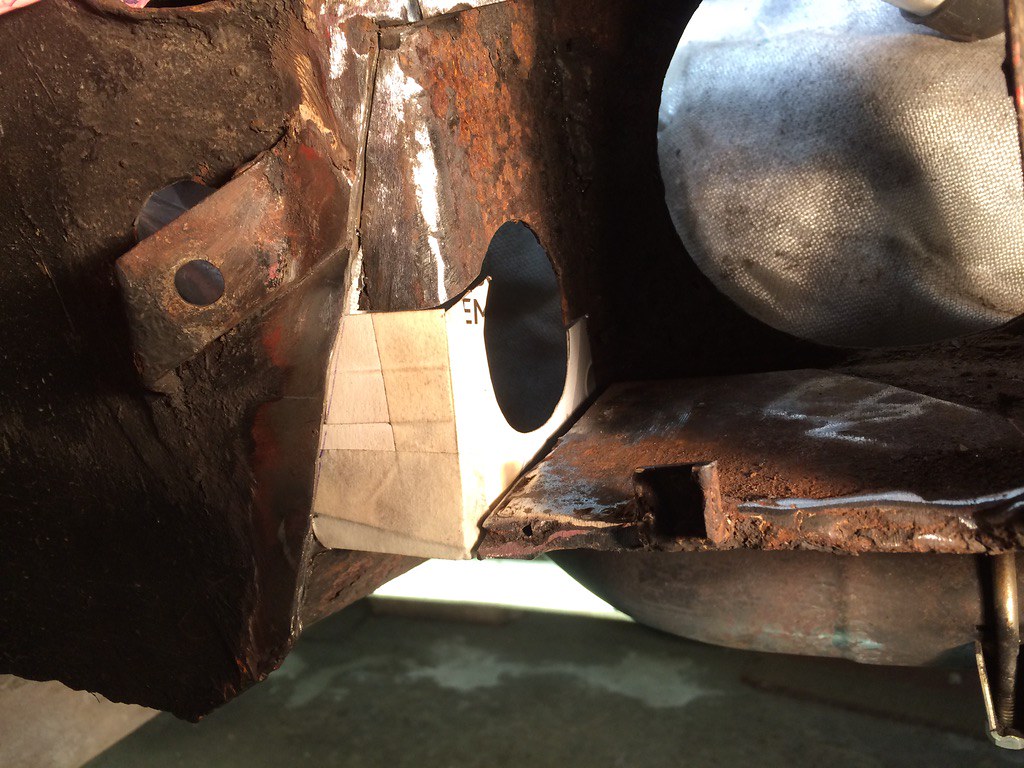
I cut down an old lower control arm to use it as a jig to make sure the tracking wouldn't go out of whack as a result of the floor repair. Fortunately, I could retain three of the original four mounting holes. For the eagle eyed: there is a 1mm gap between the control arm bracket and the new metal, this is so I could weld in a reinforcement plate that bridges the floor on both sides of the suspension tower leg. I'm normally not a fan of double sheeting, but much of the reinforcement that normally sits inside the engine bay had rotted away and it would have been really difficult to replace that without removing the engine and partially rebuild the lower rear section of the suspension tower.

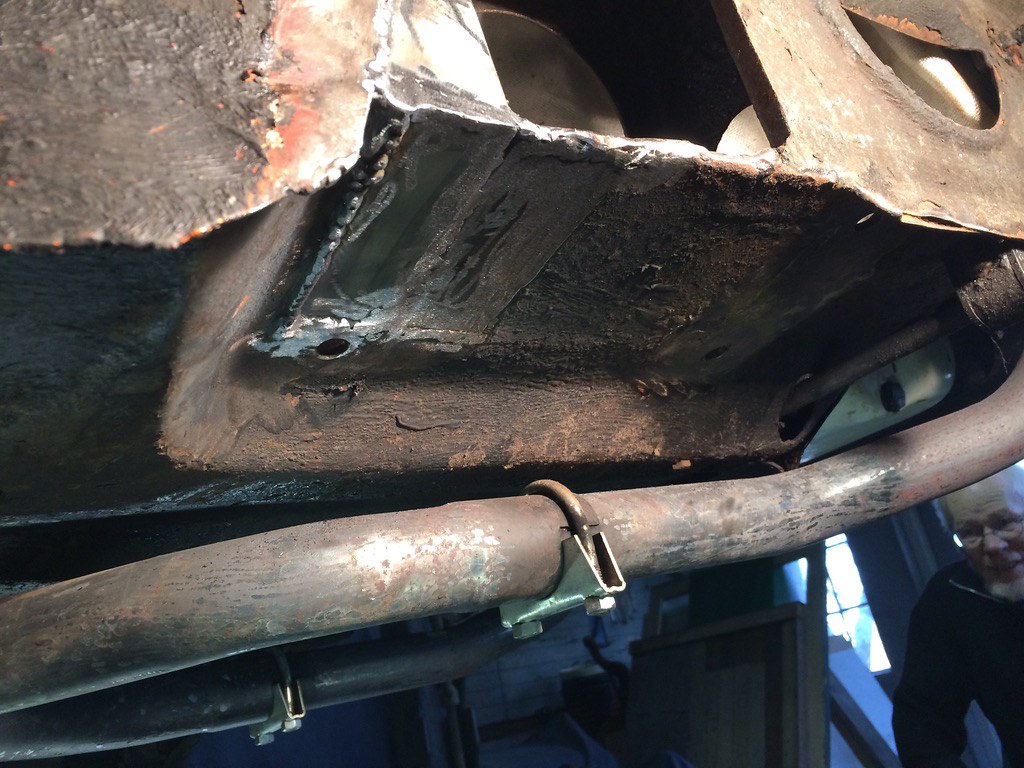
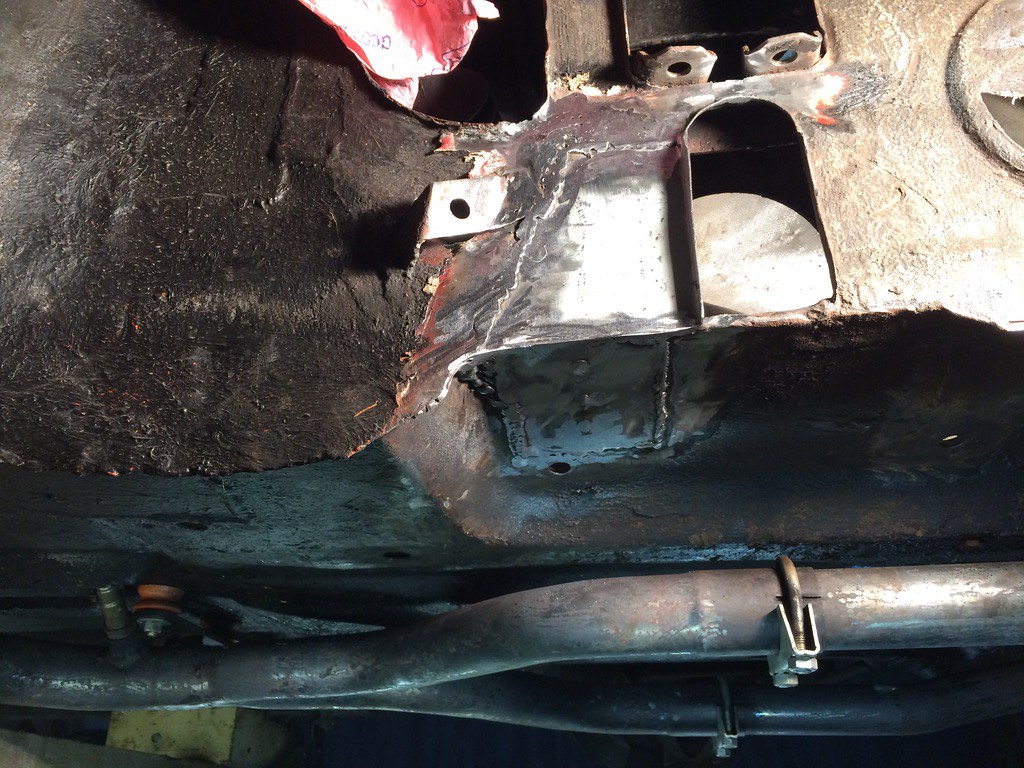
I never fully grind welds down where it doesn't visually matter, as you'll inevitably remove some surrounding metal as well, thus weakening the repair. I treated the patch with Bilt Hamber Hydrate 80 and seam sealed it with Bilt Hamber Dynax Seam before red oxide and a layer of very tough black boat paint (I decided to try a "hard" finish instead of Tectyl this time).
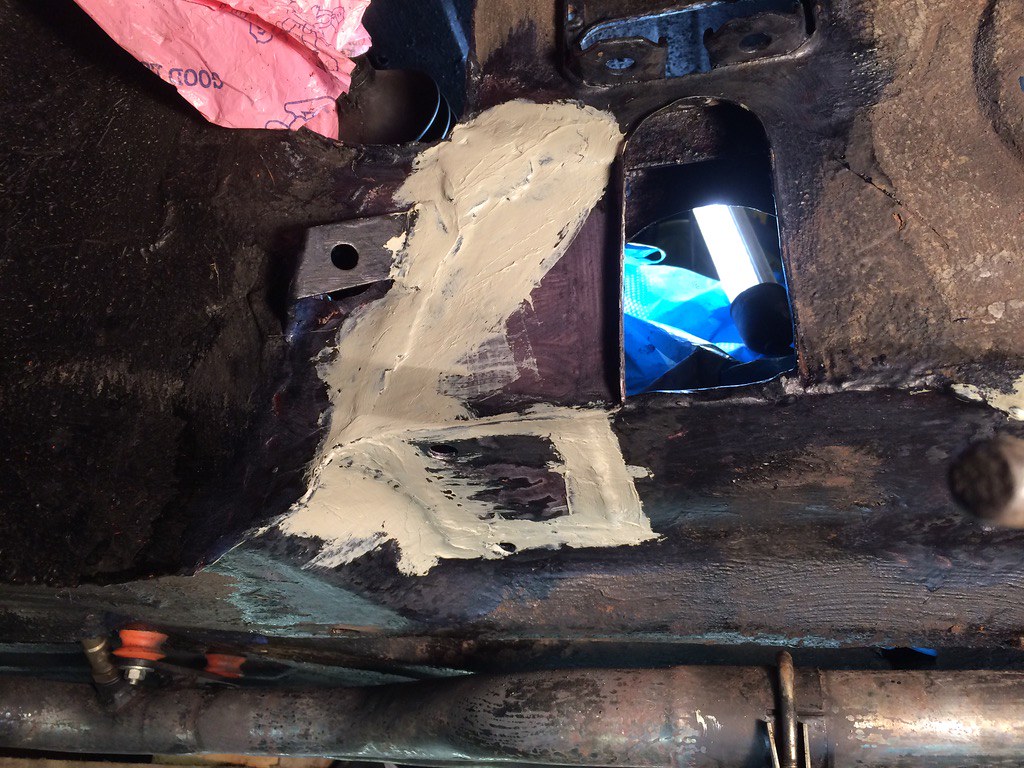
Not the best time of year for paint though...
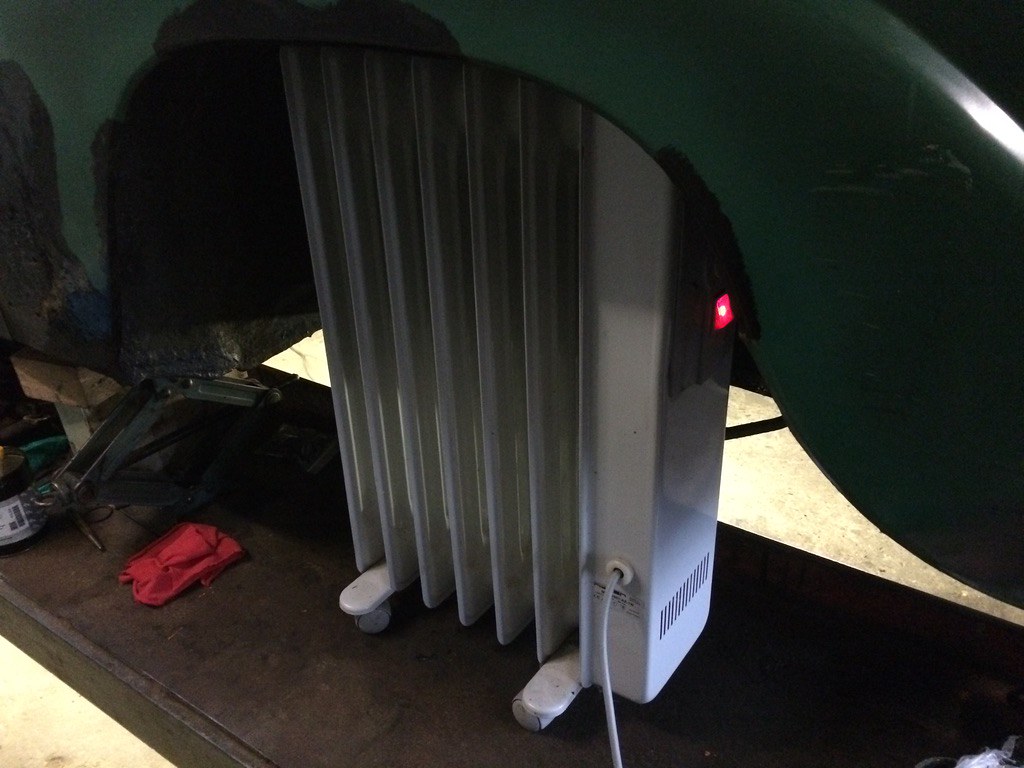
All in all not too shabby for an amateur I think, happy enough with the final result:
While working on the panel repair, I discovered the upper control arm bushes needed replacing (same as 900 uppers). The old ones were in a really sorry state. The new ones are from Professional Parts Sweden (formerly Scantech), so I'm afraid they'll look the same as the old ones in less than five years from now. Seems impossible to get decent rubber products these days, the alternative is expensive poly bushes. Could have done the lowers as well, but I'd already put the order for the upper ones in when I noticed they are going bad as well. Sigh... Quick and easy to remedy later on though and there is no need to take the springs off when removing the lower control arms. I pressed the new bushings in place with my Aldi pillar drill and two sockets (and some Vaseline to make them go in a bit easier):


Now I had the springs off anyway, I thought it would be a good time to install the "new" springs RhysN had recently given me (http://www.saab-v4.co.uk/speedball/topic.asp?topic_id=38639). I'd love to install a set of "box fresh" springs, but I can't really justify spending £300 on a set of springs for a car that does less than 2000km per annum on average.
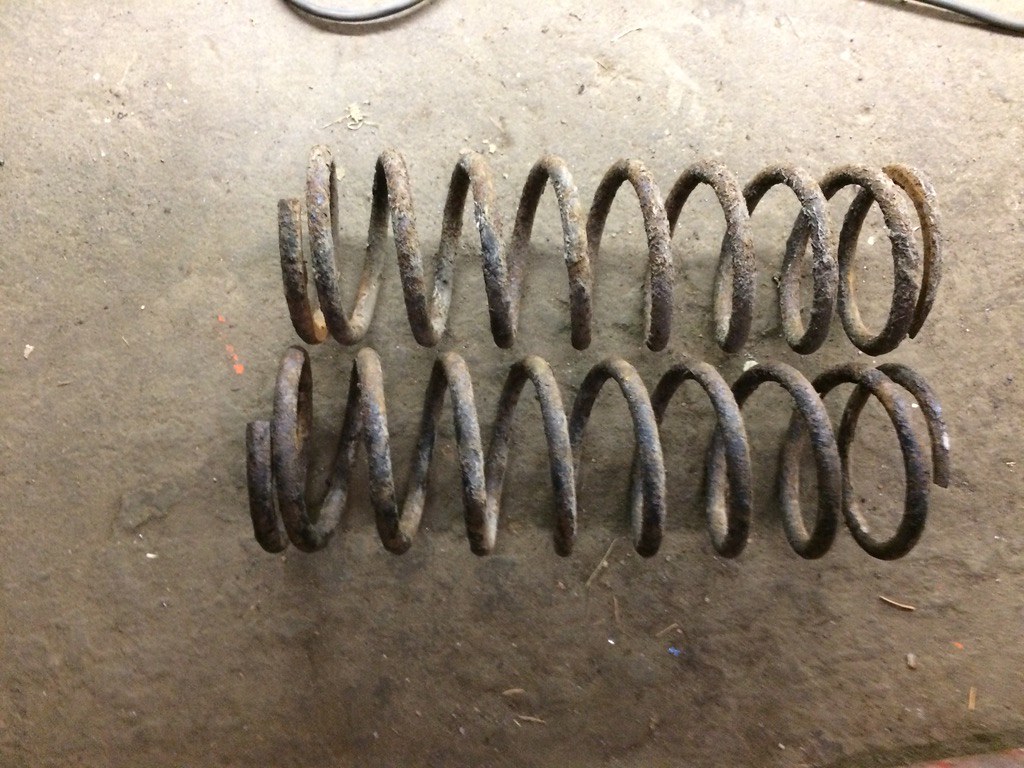
Rhys's springs come from a car that came from the factory without an ARB. The old front springs are a bit longer than then "new" ones, but those have one less winding and are a fair bit stiffer. The new rears are a bit longer than the old ones. The car sits a fair bit higher (about 1.5") and the camber is now pretty much spot on.
Front springs, new one top, old one bottom:

Rear springs, old one top, new one bottom:
Then I replaced the anti-roll bar bushes that had been on the shelf since 2012 (http://www.saab-v4.co.uk/speedball/topic.asp?topic_id=3329&whichpage=2). The old ones were past their best, to say the least:
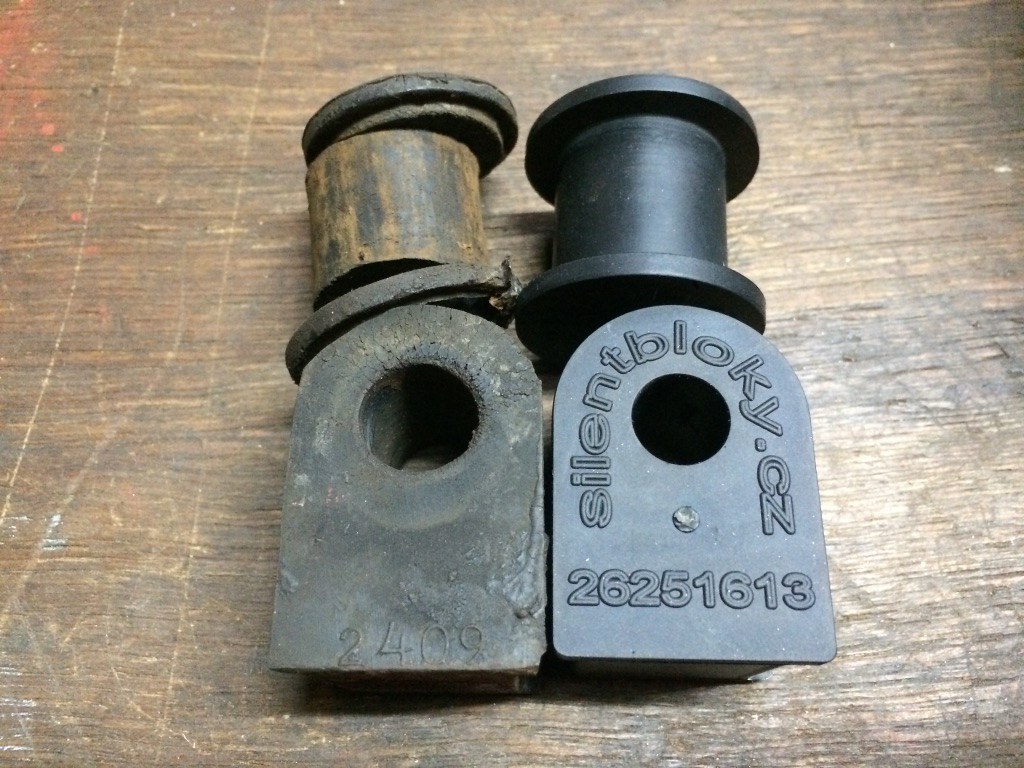
The middle ones fit beautifully, the outer ones are a bit sloppy on the ID; I may add adaptor bushes when I have time. The car handles lovely now, I can only start to imagine how it would handle with tightly fitting ARB bushes and brand new springs!
When I fitted the rear springs, I also made new axle straps from a roll of Balata belting that must have been in my father in law's workshop attic for at least forty years. I cut it to width on the table saw, which resulted in a horrible smell in the workshop that lasted at least a day. It's good material though, the same stuff as Saab originally used, so it should last for another 49 years.

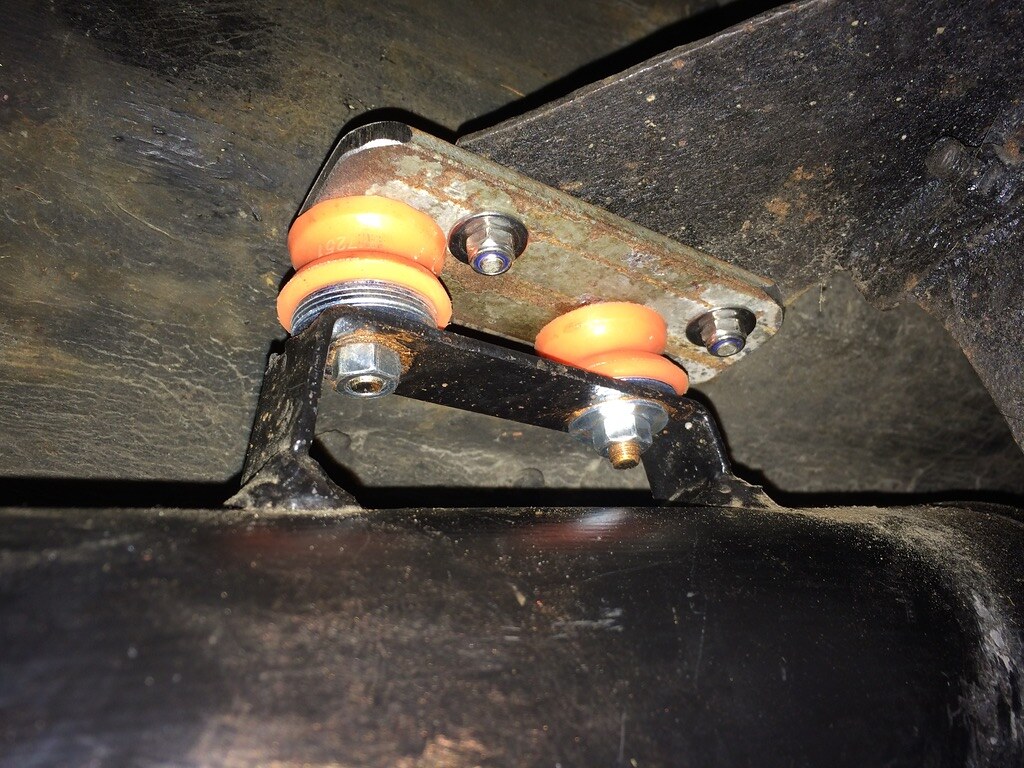
I've never been happy with the way the rear exhaust muffler was mounted, it was always touching on either the wheel or the body. I finally got around to making an adaptor and installing it with Mini poly bobbins (https://www.ebay.co.uk/itm/392183554855), instead of the original rubber donuts. It's now fitted with poly bobbins front and rear and rubber bobbins at B-pillar level and there is a flexi exhaust section between the Y-coupling and the long silencer (see page 2 of this thread for pics). I wasn't sure if this was going to result in a lot of vibration, but it's actually much, much quieter now, especially on the motorway. I always wear earplugs on the motorway (mainly because of wind noise), but it's actually fairly acceptable to drive without them now. I'll replace the last two rubber bobbins with poly as well, they're only a few years old, but they look very much like the other rubber parts I replaced.
When all was fixed and fitted, I did a 350km round trip with a trailer to pick up yet another V4 engine for the collection. I love a good old shakedown run after fixing stuff and I'm happy to report that everything held up nicely.
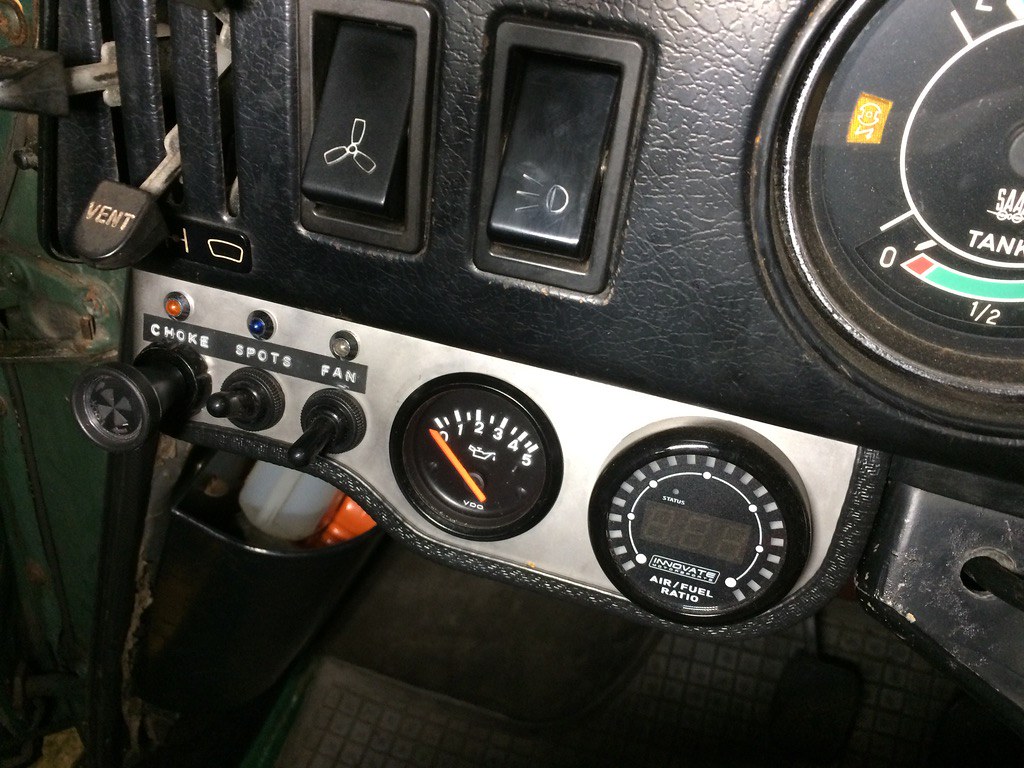
Finally, I stuck a Porsche 944 oil pressure gauge in the hole in the dash extension I made last year. I've already bought some fittings to install and wire up the sender in the block next time I'm in the workshop. By the way, I've got a nearly identical gauge (but with yellow hand and lettering on the dial face, see page 2 of this thread) for my engine test bench. I'm still looking for a sender for it, so if anyone has a spare VDO 5 bar oil pressure sender, give me a shout.
Maintaining this car seems like painting the Forth bridge, but I still love it!
www.saabv4.com |  |
|
72sonett3
V4 Fanatic
  
Spain
269 Posts |  Posted - 17 Jan 2019 : 19:52:48 Posted - 17 Jan 2019 : 19:52:48  
| I used those rubber exhaust hangers as support for the Facet fuel pump.
--
'72 97
'77 96L conv.
'79 96GL (LPG)
'83 900i (LPG)
'95 900SE conv.
'99 9-3T |  |
|
melle
V4 Guru
    
United Kingdom
3833 Posts | |
Derek
V4 Guru
    
United Kingdom
2192 Posts |  Posted - 18 Jan 2019 : 11:38:00 Posted - 18 Jan 2019 : 11:38:00  
| Beware with the sender for the VDO oil pressure gauge. A friend fitted one into his early Audi 80 and had to search out a sender which matched electrically to give a correct reading.
Nice write up, you've been very busy. Well done. |  |
|
melle
V4 Guru
    
United Kingdom
3833 Posts |  Posted - 18 Jan 2019 : 12:02:11 Posted - 18 Jan 2019 : 12:02:11  
| All 5 bar VDO senders should operate in the same resistance range as far as I'm aware. Problem is I got a 10 bar sender with the gauge and only noticed it a year after I bought it. Happy to swap it for a 5 bar unit! Although the one 5 bar VDO sender I have has a "W" terminal, I'll keep the original sender for the warning light as I have no idea at what pressure the VDO sender gives a low oil pressure signal.
www.saabv4.com |  |
|
green96v4
V4 Mad
   
Canada
738 Posts |  Posted - 18 Jan 2019 : 14:45:07 Posted - 18 Jan 2019 : 14:45:07  
| | I love this thread - great creative work Melle! |  |
|
melle
V4 Guru
    
United Kingdom
3833 Posts | |
James Ranaldi
V4 Guru
    
United Kingdom
1475 Posts |  Posted - 18 Jan 2019 : 17:08:50 Posted - 18 Jan 2019 : 17:08:50  
| quote:
Originally posted by green96v4
I love this thread - great creative work Melle!
Me too 
1968 V4 96 ,LHD
1984 99 GL
1992 C900i Convertible
1993 C900 LPT Convertible |  |
|
Dirtbiker
V4 Guru
    
United Kingdom
1061 Posts |  Posted - 18 Jan 2019 : 20:30:53 Posted - 18 Jan 2019 : 20:30:53  
| Hi Melle,
Great update, hopefully you spent an equal amount of time on the 95 van...
I recently bought some QH leads that didn't fit, I'll post in general technical so as not to clutter here.
I'm going to order some of those Mini bobbins as my Jetex knocks on the body on bumpy roads - thanks for the tip!
Looks like you probably had the upper arms off for grot removal anyway but of you haven't tried it I have changed the upper bushes without removing the springs just by doing them one at a time.
Cheers and keep up the good work when ever you are back at the workshop! |  |
|
melle
V4 Guru
    
United Kingdom
3833 Posts |  Posted - 18 Jan 2019 : 21:02:49 Posted - 18 Jan 2019 : 21:02:49  
| quote:
Originally posted by Dirtbiker
Hhopefully you spent an equal amount of time on the 95 van...
Don't mention the war! I was planning to, but the 96 absorbed the majority of my playtime.
quote:
Originally posted by Dirtbiker
I'm going to order some of those Mini bobbins as my Jetex knocks on the body on bumpy roads - thanks for the tip!
Beware that they're only 18mm tall; the threads stick out 15mm either end, so there is some room for a stack of penny washers if needed.
quote:
Originally posted by Dirtbiker
Looks like you probably had the upper arms off for grot removal anyway
No, but I was changing the springs, so I had them off anyway. Never thought of replacing the bushes with the arms in situ.
www.saabv4.com |  |
|
Betsy67
V4 Fanatic
  
United Kingdom
409 Posts |  Posted - 19 Jan 2019 : 13:27:49 Posted - 19 Jan 2019 : 13:27:49  
| Great thread Melle - always good reading.
Not a great lover of the non rubber bobbins myself. Didnt seem to last 2 minutes when I used them. |  |
|
melle
V4 Guru
    
United Kingdom
3833 Posts | |
 Topic Topic  | |

